This post may contain affiliate links, meaning we earn a commission for any purchases made through our link. For more info, check out our legal page.
Painting 101 for Beginners: Primer, Paint Types, and Sheen (So You Don’t Have to Repaint Twice)
If you’ve ever finished painting a room and immediately thought “why does it look patchy?” or “why is the bathroom already peeling?” you’re not alone.
Most beginner painting problems don’t happen during the actual painting. They happen before: the wrong primer, the wrong sheen for the room, or skipping a prep step that seemed optional but really wasn’t.
This guide covers everything you need to know about primer, paint types, and sheen, without the jargon, so you can get it right the first time.
Quick Take: What You Actually Need to Know
- Primer is not optional. It helps paint stick, blocks stains, and keeps the finish even.
- Bathrooms and kitchens need moisture and mildew resistance in both the primer and the paint.
- Water-based paint is the right choice for most interior walls.
- Oil-based paint has niche uses but is not the default for beginners.
- Sheen determines washability: higher sheen means easier cleaning, but it also shows more wall imperfections.
Water-Based vs. Oil-Based Paint and Primers
Water-Based (Latex/Acrylic)
Water-based paint uses water as its carrier. That means faster drying, easy soap-and-water cleanup, and much lower odor than oil-based alternatives. The finish also stays flexible as it cures, which helps it resist cracking over time.
You’ll often see “acrylic” on labels too. Acrylic paints are water-based but use acrylic resin as the binder, which gives them slightly better adhesion and durability than basic latex. Most quality interior paints today are acrylic latex, the best of both.
What about enamel? Enamel refers to the hardness of the finish, not the base. Water-based enamel is simply acrylic paint formulated to cure extra hard, making it popular for trim, cabinets, and doors. It is not a separate category, just a durability upgrade within water-based paint.
Best for: most interior walls and ceilings
Pros:
- Easy water cleanup
- Lower odor
- Faster dry time
- Flexible finish (less likely to crack)
Cons:
- Does not bond well to slick or previously oil-painted surfaces without a bonding primer
Oil-Based
Oil-based paint uses mineral spirits or other solvents as its carrier. It dries harder, levels more smoothly (fewer visible brush marks), and creates an extremely durable finish. It was the standard for decades for a reason.
The tradeoffs: stronger odor, solvent-based cleanup, longer dry time between coats, and a tendency to yellow over time, especially in low-light areas.
What about outdoor paint? Exterior paint, whether water-based or oil-based, is formulated for UV exposure, temperature swings, and moisture. It contains additives designed for open-air use and can off-gas more heavily indoors. Do not use exterior paint on interior walls. More on that below.
Best for: some trim and cabinets, stain-heavy situations, surfaces previously painted with oil-based paint
Pros:
- Very hard finish
- Smooth leveling with fewer brush marks
Cons:
- Strong odor
- Requires solvents for cleanup
- Longer dry time
- Can yellow over time, especially in low-light areas
For most beginners painting interior walls: water-based is the right choice.
What Primer Actually Does (And When You Can Skip It)
Primer is not just thin paint. It is a purpose-built product that solves specific surface problems so your topcoat can look good and last.
Here is what primer does:
- Adhesion: Helps paint grip slick, glossy, or previously oil-painted surfaces. (This is also what makes IKEA furniture hacks actually hold up.)
- Stain blocking: Prevents old stains whether they’re from water damage, smoke, marker, or spray paint, from bleeding through a fresh coat. Some stains will keep showing through regular paint no matter how many coats you apply. Primer stops that.
- Color control: Helps bold new colors cover evenly, especially when going light over dark.
- Sealing: Reduces “flashing” the patchy, uneven sheen you sometimes get over repaired drywall, by evening out how porous different parts of the surface are.
When You Can Sometimes Skip Primer
You do not always need to prime the entire wall. You can often skip a full coat of primer if:
- You are repainting a clean wall with no stains or damage
- The existing paint is matte or eggshell (not glossy, and not oil-based)
- You are staying in a similar color family and using a high-quality self-priming paint
- There are no patches or repairs on the wall
Even when you skip a full coat, always spot-prime patched areas. Patching compound and spackle are porous, just like new drywall and they absorb paint differently than the surrounding surface. Without spot-priming, those patches will look noticeably shinier or duller than the rest of the wall after painting.
Primer Types: A Plain-English Guide
Match the primer to the problem you are solving. Here is how to pick:
Drywall Primers
Best for: brand-new drywall, large patch jobs, skim-coated walls (think unfinished basement or garage)
New drywall and joint compound are highly porous and absorb paint unevenly. Without a drywall primer, you will often end up with flat, dull spots over the seams and fastener holes, even after multiple coats of paint. A drywall primer seals the surface so everything absorbs at the same rate and the topcoat dries evenly.
Pro tip: If you have patched multiple spots around a room, priming those patches before painting can save you from the “why is this one spot shinier?” surprise. If you are also dealing with discoloration or old stains, a primer sealer stain killer can help keep the new paint from showing what is underneath.
Stain-Blocking Primers
Best for: water stains, smoke damage, heavy discoloration, wood knots and tannin bleed, marker, and old spray paint on walls
Some stains bleed through regular paint no matter how many coats you apply. Stain-blocking primers contain special resins that seal the stain and stop it from migrating into the topcoat. On really stubborn stains, heavy smoke damage or dark water marks, you may need two coats of stain blocker before painting.
What to look for on the label: “stain blocker,” “stain sealing,” or “stain killer”
Bonding Primers
Best for: glossy paint, previously oil-painted surfaces, tile, laminate, cabinets, trim, and other slick surfaces
Here is the key difference between bonding and stain-blocking primers:
- Stain-blocking primers stop something from coming _through_ the surface.
- Bonding primers help paint stick _to_ a surface that does not want to cooperate.
Slick and glossy surfaces give paint nothing to grip. Bonding primer creates an adhesive layer for the paint to hold onto. Without it, paint on a glossy or previously oil-painted wall will look fine at first, and then start peeling.
Use a bonding primer if you are painting:
- A shiny wall
- Previously oil-painted surfaces
- Cabinets or laminate furniture (hello IKEA)
- Tile
Mold and Mildew-Resistant Primers
Best for: bathrooms, laundry rooms, kitchens, and any space with high humidity or poor ventilation
There are two ways to get mildew resistance in your paint system:
- Dedicated mold-resistant primers: products like Water-Based Mold Killing Primer are formulated for high-humidity rooms and can do double duty as a stain blocker.
- Mildewcide additives: small bottles of mildewcide concentrate (such as Zinsser ADD-2) that you mix into your regular primer or paint. This adds mildew protection to any product without buying a specialty formula.
Both work and when you buy your paint if you decide to go the additive route they can add it in when they mix the color.
For most bathrooms, a dedicated mold-resistant primer is the simpler choice. If you already have a primer you like, a mildewcide additive is a reasonable option.
Important: Primer alone cannot save a bathroom paint job if the moisture problem is not addressed. You also need a mold and mildew proof interior paint, and you need to fix the root cause (poor ventilation, a slow leak, chronic condensation). No primer holds up long-term against active moisture.
Best Primers
Primer Sealer Stain Killer
- Useful when walls need stain blocking before you paint.
- Good primer option for covering old marks or uneven problem spots.
- Fits the prep step before adding your final wall color.
Acrylic Waterborne Bonding Primer
- Made for helping paint bond to tricky or slick surfaces.
- Helpful when you are repainting trim, cabinets, doors, or older finishes.
- A smart prep pick when adhesion matters more than speed.
Water-Based Mold Killing Primer
- Designed for mold and mildew problem areas before repainting.
- Best fit for bathrooms, laundry rooms, or other moisture-prone spaces.
- Use after addressing the moisture issue so the paint job has a better foundation.
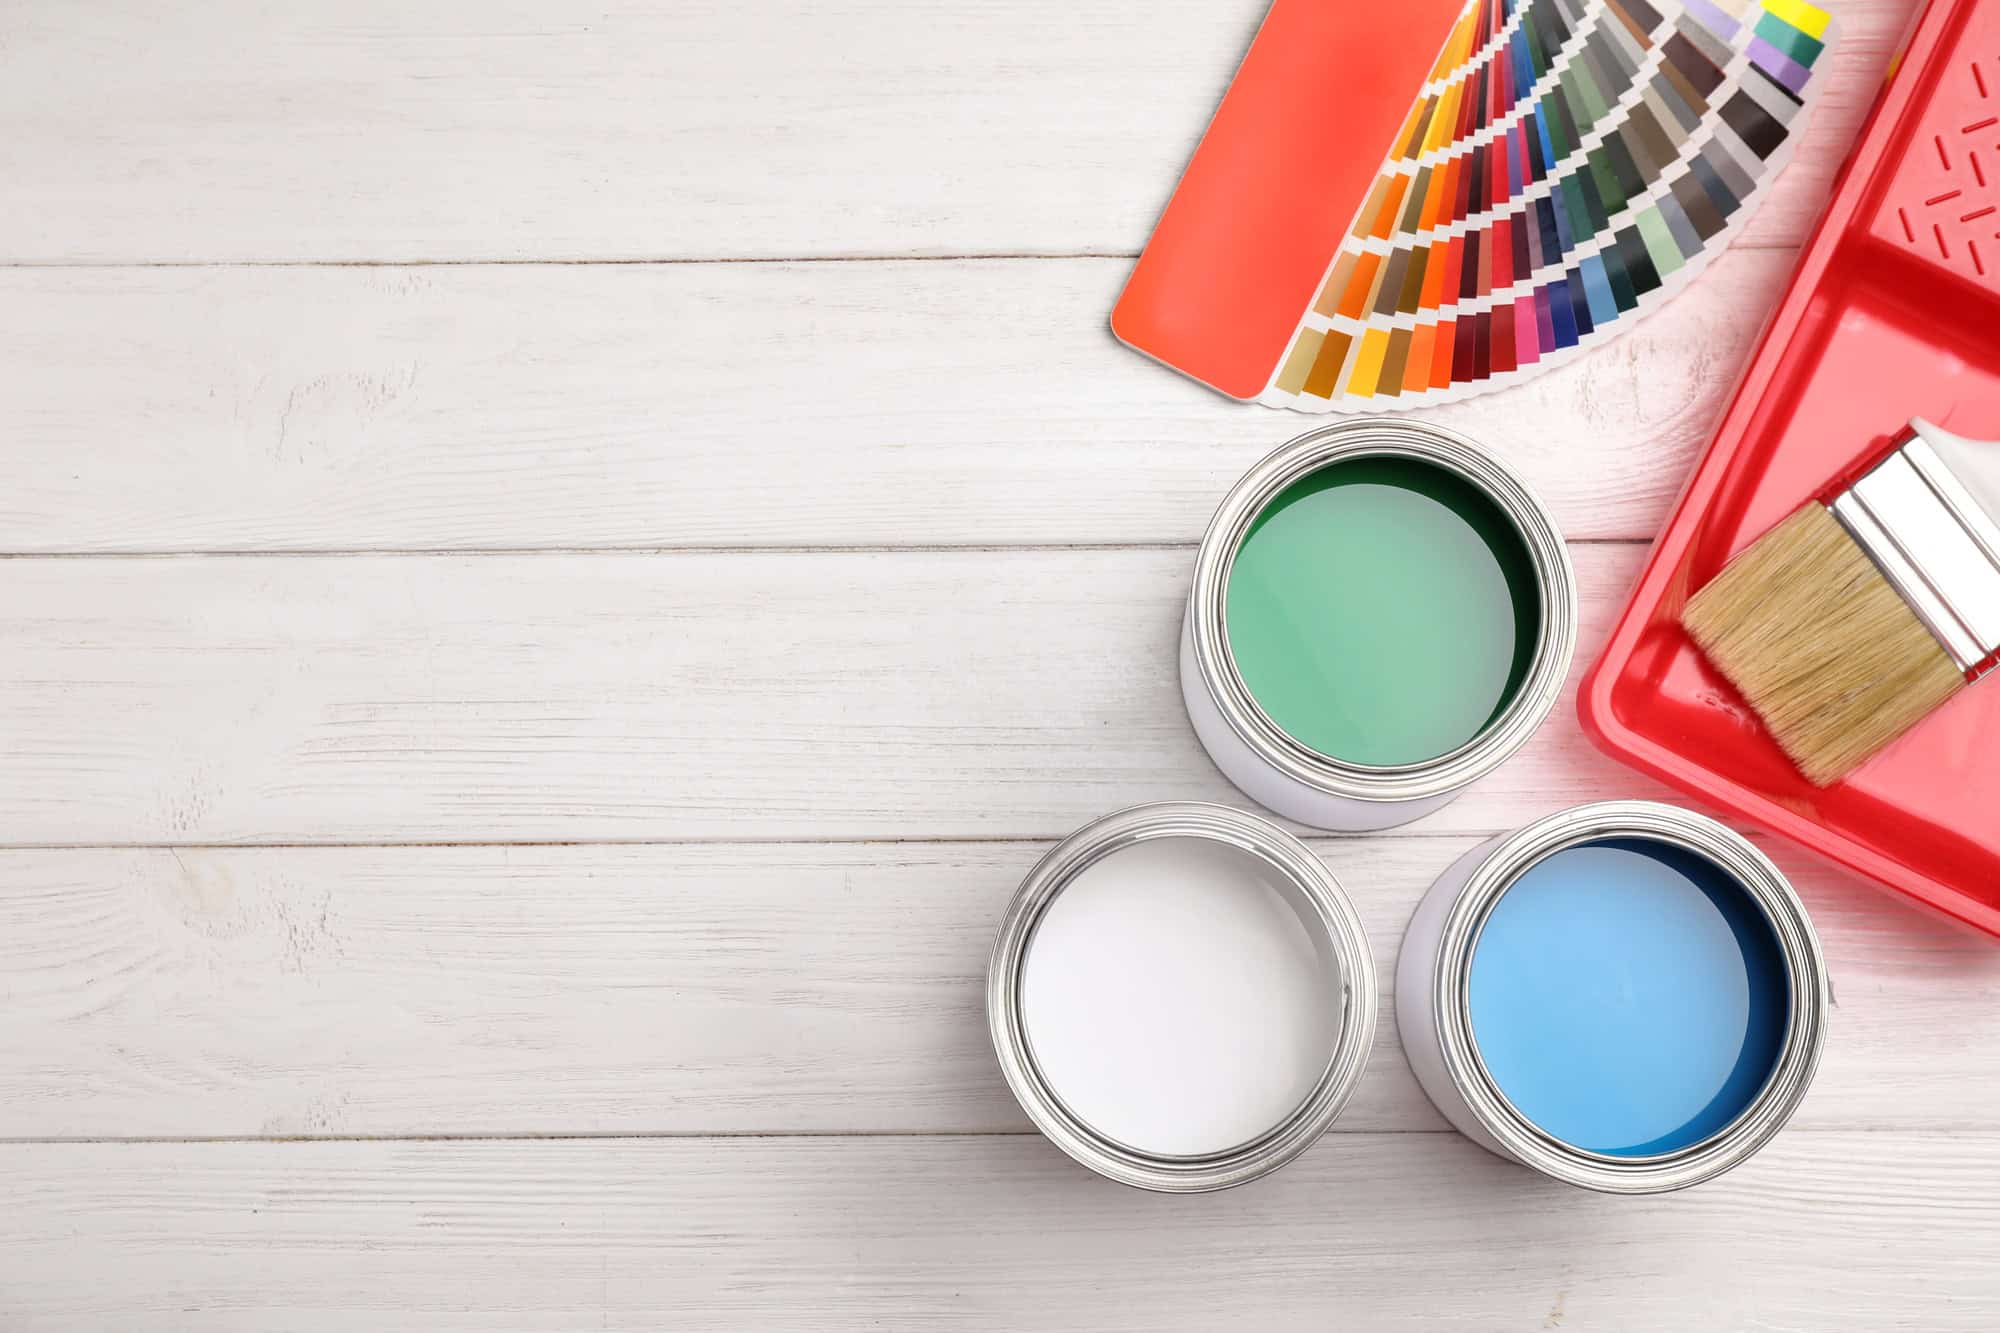
Paint Sheen: How to Choose Without Overthinking
Sheen is the level of glossiness in your finished paint. It affects how washable your walls are, how much light bounces around the room, and how much wall texture and imperfections show.
Higher sheen: easier to clean, more light reflection, more imperfections visible. Lower sheen: softer look, better at hiding flaws, harder to wipe clean.
Sheen also affects the mood of a room. A flat matte finish feels calm and grounded. A high-sheen finish can make a small space feel brighter and more open. And if you want a bold, high-energy effect, like a neon-painted accent wall, sheen is part of how you get there.

Flat / Matte
Think of the surface of a chalkboard: completely matte, no shine at all. Flat paint absorbs light rather than reflecting it, which makes wall texture and imperfections much less noticeable.
- Best for: ceilings, low-traffic rooms, walls with texture or repairs to hide
- Washability: lowest, the formula has improved in recent years, but scrubbing can still damage the finish
- Keep in mind: beautiful and forgiving on imperfect walls, but marks show and are harder to wipe off
Eggshell
Eggshell has just a hint of sheen, similar to the surface of an actual eggshell, which has a very subtle. It is the most popular finish for living rooms and bedrooms because it hides minor flaws and is easy to live with day to day.
- Best for: living rooms, bedrooms, offices, dining rooms
- Washability: decent, handles light cleaning without damage
- Keep in mind: not durable enough for high-traffic or high-moisture areas
Satin
Satin has a soft, low-luster sheen, similar to the look of satin fabric. It reflects more light than eggshell without looking overtly shiny, and it is noticeably more washable and moisture-resistant. This is the workhorse finish for busy households.
- Best for: hallways, kids’ rooms, kitchens, bathrooms
- Washability: good, holds up to regular wiping and moderate scrubbing
- Keep in mind: more forgiving than semi-gloss, but will show wall texture more than eggshell
Semi-Gloss
Semi-gloss has a clearly visible shine, not mirror-like, but noticeable. It is highly washable, moisture-resistant, and durable, which makes it the standard for trim, doors, and anywhere that gets splashed or touched regularly.
- Best for: trim, doors, bathroom walls
- Washability: very good, easy to wipe down
- Keep in mind: shows wall imperfections clearly. Not a good choice for rough or patchy walls.
Gloss
Full gloss is highly reflective and extremely durable, almost lacquer-like on a wall.
- Best for: trim accents, statement surfaces, some furniture, generally not for walls
- Washability: excellent
- Keep in mind: very unforgiving of imperfections; works best on perfectly smooth surfaces
Interior vs. Exterior Paint: Don’t Swap These
Interior and exterior paints are formulated for completely different conditions. Using the wrong one causes real problems.
Exterior paint is built to handle UV exposure, rain, and temperature swings. It contains UV-resistant pigments, flexible resins, and stronger mildewcides designed for open-air use. It also tends to have higher VOC (solvents that evaporate at room temperature) content, which means stronger fumes in an enclosed indoor space.
Interior paint is formulated for a closed environment: lower odor, easy cleaning, and durability against everyday scrubbing. It is not built to handle weather or UV exposure, which is why interior paint on an outdoor surface fades and degrades quickly.
The short version: do not use exterior paint indoors, and do not use interior paint outdoors. They are different products for a reason.
The Prep Checklist That Makes a Paint Job Look Professional
A paint job that looks polished is mostly about prep. This is usually what takes the longest, and skipping it is what causes most of the problems beginners run into.
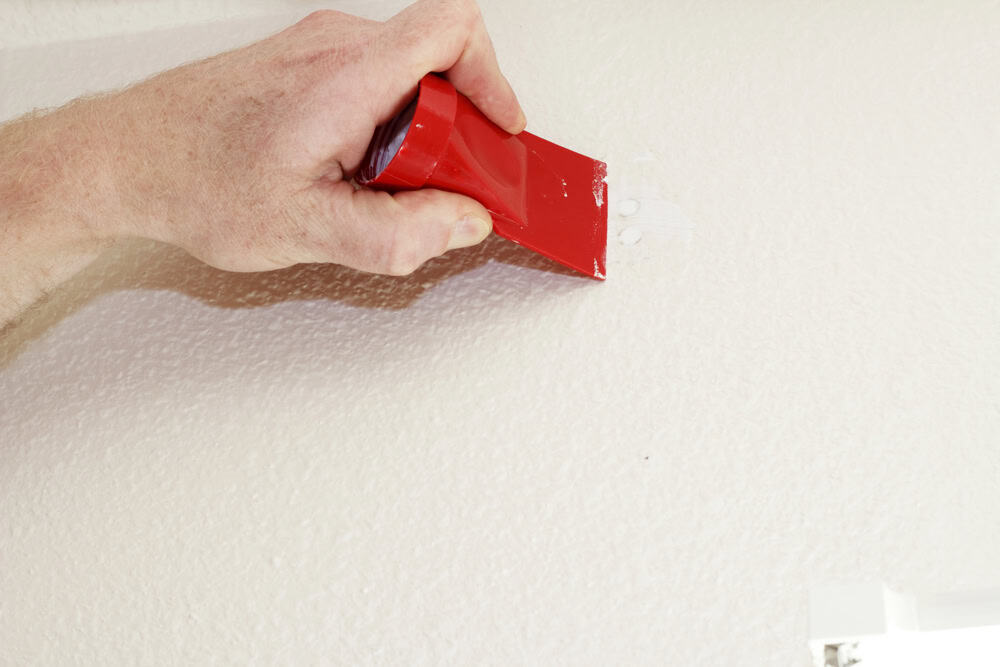
Step 1: Patch Holes and Dents
Supplies you will need:
- Patching compound or spackle
- Flat putty knife or scraper
- Sanding block
- Texture spray (only if the wall is textured, pro tip, after use, spray upside down, in a trash can to clear it so it doesn’t get clogged for the next time you need it)
- Clean Release Blue Painter’s Tape
- All Purpose Canvas Drop Cloths
Note for renters: Most landlords appreciate properly patched holes. If you ask, they will often provide a small amount of matching paint to cover the patch, especially useful if you are not repainting the full wall.
How to patch:
- Clean the area first. Remove any dust, debris, or loose material so the compound adheres properly.
- Use the putty knife to fill the hole with compound. Slightly overfill, patching compound can shrink as it dries. Smooth it flat against the wall.
- Once fully dry, sand smooth with the sanding block until flush with the surrounding wall. Wipe down with a damp cloth to remove sanding dust.
- If the wall is textured, test your texture spray on cardboard first to match the existing texture. Apply lightly over the patch, texture spray can spread quickly, so cover nearby surfaces (especially carpet).
- Let everything dry fully before priming or painting.
Step 2: Tape, Cover, and Protect
Taping trim and covering floors is time-consuming but worth it. If you have a very steady hand you can skip taping and rely on cutting in carefully with an angled paint brush, but for most beginners, tape saves a lot of cleanup. A paint edger can also help around trim and ceiling lines.
Use Clean Release Blue Painter’s Tape along trim, window frames, outlet covers, and ceiling lines. Use All Purpose Canvas Drop Cloths or old sheets on floors and any furniture you cannot move. In bathrooms, cover the toilet and any fixed fixtures. A Handy Paint Pail Kit can make cut-ins and smaller touch-up areas easier to manage.
The more you protect now, the less you clean up later.
Paint Prep Tools
Clean Release Blue Painter's Tape
- Helps protect trim, edges, and clean lines while you paint.
- A simple prep item that can make beginner paint jobs look cleaner.
- Useful for taping off baseboards, ceilings, outlets, and hardware.
All Purpose Canvas Drop Cloths
- Helps protect floors and furniture from drips and splatter.
- Reusable canvas is handy for more than one paint project.
- Good to put down before opening primer or paint.
Easy Grip 2 Inch Angled Paint Brush Set
- Angled brush shape helps with corners, edges, and cutting in.
- Useful for beginner paint projects where a roller cannot reach cleanly.
- A small brush set is handy for trim, detail work, and touch-ups.
Step 3: Prime the Right Spots
You may not need to prime the entire surface. Focus primer where it matters:
- All patched and repaired areas, always, even if you skip priming the rest of the wall
- Any stains or discoloration
- Glossy surfaces (use Acrylic Waterborne Bonding Primer)
- New drywall or bare surfaces
Bathrooms and Kitchens: What to Do Differently
Bathroom and kitchen paint jobs fail for two main reasons: moisture and adhesion. Understanding both makes the difference between a paint job that lasts years and one that starts peeling within months.
The Core Problem: Moisture and Grease
In bathrooms, steam and condensation are constant. In kitchens, cooking grease builds up on walls over time. Both create conditions where paint struggles to stick and hold long-term.
If your bathroom paint has peeled before, buying better paint is not the full answer. The fix usually starts with cleaning and ventilation.
How to Thoroughly Clean Before Painting
Bathrooms: Soap scum, body oils, and mildew residue all prevent paint from adhering. Scrub walls with a bathroom cleaner or a diluted bleach solution (1 part bleach to 3 parts water) to remove any mildew or buildup. Rinse thoroughly and allow walls to dry completely before priming.
Kitchens: Even walls that look clean often have a thin film of cooking grease that will cause paint to peel. Wash kitchen walls with a degreaser before painting. TSP (trisodium phosphate) cleaner or a TSP substitute works well for this. Rinse and let dry fully.
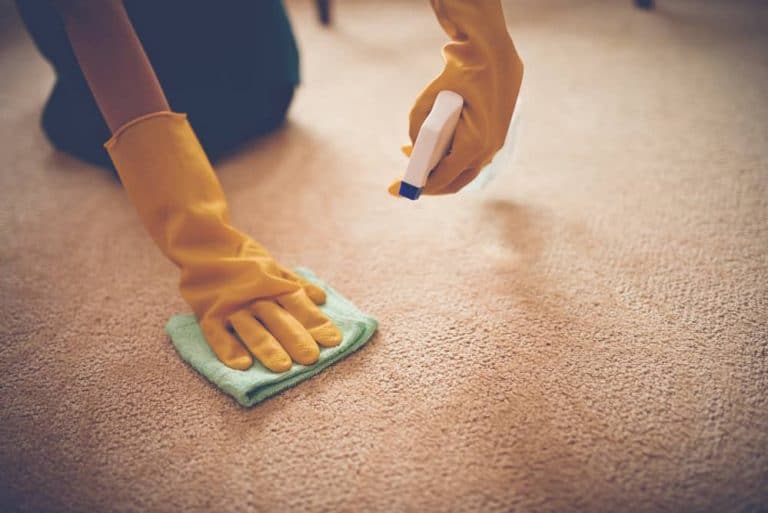
In both rooms: never paint over a damp surface. And if paint does hit the carpet, this guide to getting stains out of carpet can help with cleanup; a FOLEX Instant Carpet Spot Remover is also handy to keep nearby.
FOLEX Instant Carpet Spot Remover
- If you do accidently get paint on the carpet, this works great to get it out.
- Fits naturally with the carpet stain cleanup step in the article.
- A practical cleanup product to keep nearby during painting projects.